Top 10 Tips for Great Food Photos
OUR top 10 tips on taking stellar food photos

Taking a picture of your culinary masterpiece or of your order at a restaurant is not easy. You only need to scroll through social networking sites like Instagram to realize this.
I’m far from being a professional but I do have some tricks up my sleeve to help me from losing my mind, because when it comes to cameras I actually don’t have a lot of patience.
Tip# 1: Banish the flash and take your photos in broad daylight
Unless you have professional photographer lighting and master white balance, don’t waste your time; all you have to do is take your snaps during the day, without flash.
Tip# 2: When I can, I take photos in the morning
Light is much easier to tame in the morning: there are less shadows and the light is much softer. Think about when you take a photo of your partner or your children in the summer-time; the ones taken in the morning are so much more beautiful.
If you must take a photo in the afternoon, open your eyes, look closely at what you’re about to photograph, and position both the subject and your body in order to avoid shadows on your plate as much as possible. Some photos manage to use shadows to your advantage, and even though the result can be beautiful, it’s a hard technique to master. There’s nothing worse than a dark shadow masking your vibrant strawberry tart.
Tip#3: Find the right spot
At home, I’ve identified the places where the light is optimal, so when I’m pressed for time, that’s where I head.
To find your spot, try following Isabelle Rozenbaum’s advice, a photographer whom I admire a lot: walk around your house with your plate and just observe. You’ll notice that depending on where you are, the content of your plate is either prettier or uglier, depending on where the light is coming from.
And in case it’s a dark and gloomy day, get a stool, put a cutting board on it (or a piece of thick cardboard), place yourself in front of an open window, and things should look a lot brighter.
Tip# 4: Find plates/bowls/cutting boards/backgrounds that are photogenic
Funnily enough, just because a plate or a dinner set looks nice in the store doesn’t mean that it will look nice in a photo. Certain colors, textures and objects actually look really bad when photographed. Don’t be obstinate and just leave them in the cupboard when you’re taking photos.
Try doing tests with different bowls, plates and backgrounds and find the ones that work well with your camera. You can always count on them when you’re in a hurry.
Tip# 5: Try to make food look appetizing instead of pretty
Sometimes we spend too much time trying to take a beautiful photo - posing the plate on a flowery background, adding ribbons, herbs, flowers etc. But why? In my opinion, it’s better to try to make the food look mouthwatering by showing, for example, the texture of a cake, instead of photographing a pretty plate or an elegant spoon.
Tip# 6: Avoid large plates, verrines and glasses
Taking a photo of a large plate or dish is perilous. Think about this before taking the picture. When I make a casserole, I cook it in two medium serving plates or in one normal serving plate and one small ramekin that I’ll use for the photo.
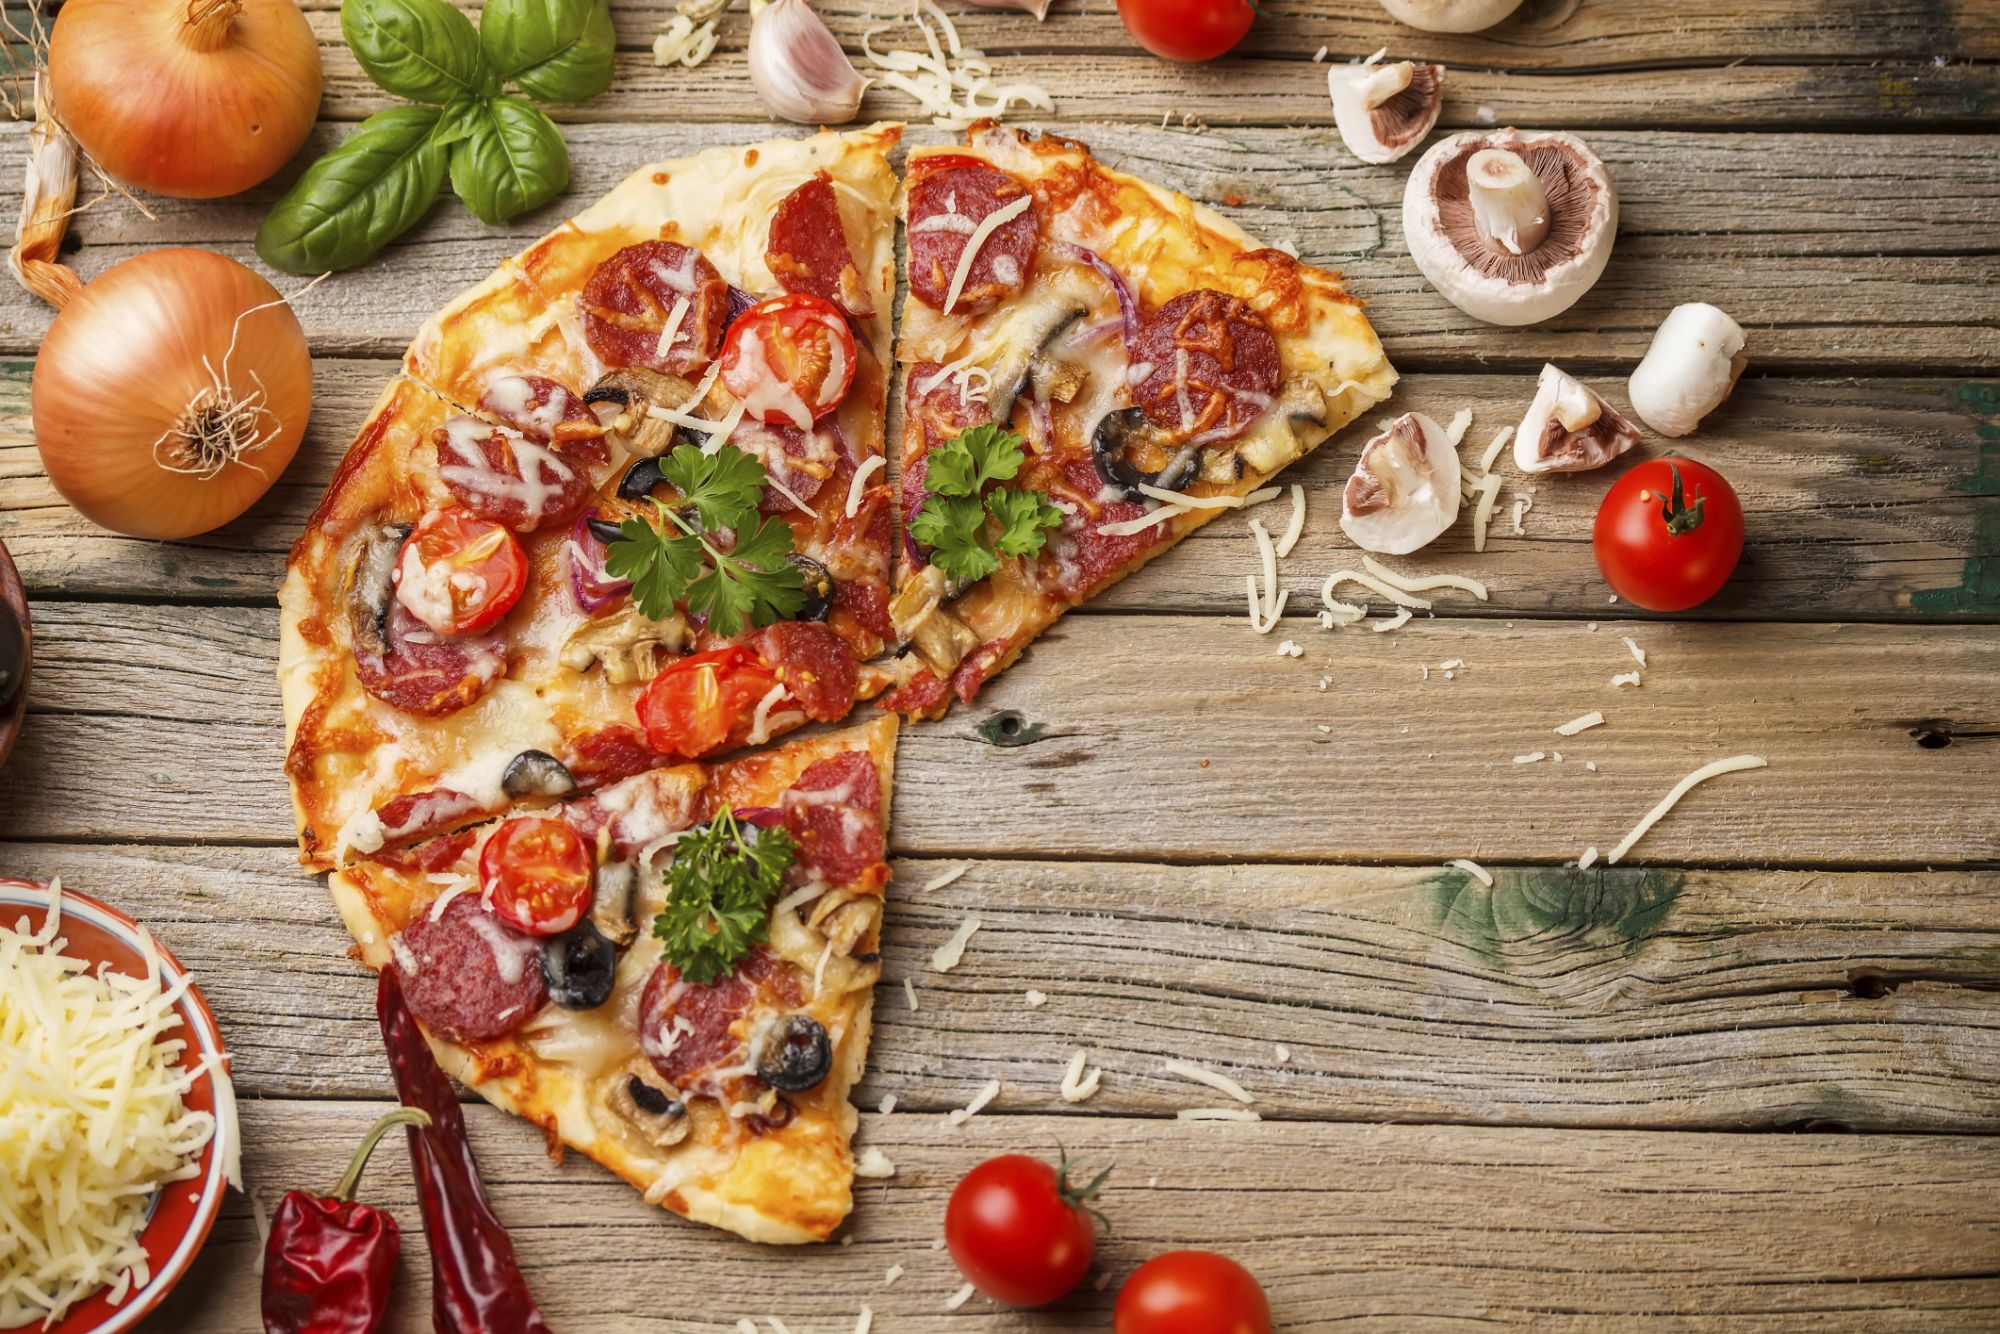
Photographing a verrine is also a challenge because of the reflections, the streaks of food on the side of the glass, and the fact that the food just looks trapped. Verrines can quickly turn into a nightmare. But some verrine desserts are easier to shoot than others if they’re presented in a bowl instead. Regarding drinks, like smoothies or cocktails, the best tip is to photograph them from above.
Tip# 7: Keep it simple, without trying to make a composition
If, like me, you’re not particularly talented at making compositions (the teacup behind the cake, strategically placed spoons, slices of bread next to the cheese etc.) then keep it as simple as possible, and take a wide shot of the content of the plate while trying to maximize the focus on the colors and textures.
Tip# 8: Give it life
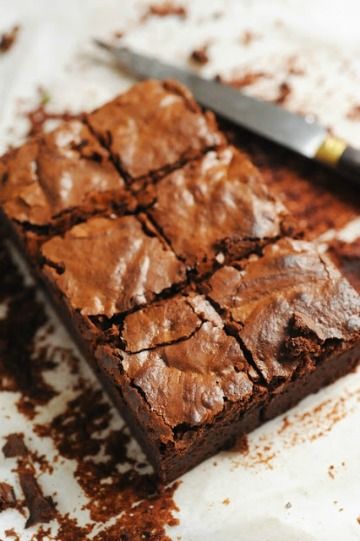
Nothing is worse than a cute little custard in a white ramekin, with a spoon on the side and a slice of cake next to it, or even worse, a cake that hasn’t been cut. These photos are lifeless. Cut your cake, take a bite out of a slice, leave some crumbs on your plate, and put a spoon in your custard. You’ll see that suddenly your photos are full of life, and that they look more appealing and more appetizing.
Tip #9: Get some height
When all else fails, put your plate on the floor, or climb on a chair to get some height. Photos taken from a distance have a certain charm to them.
Tip# 10: What do I do when I’m at a restaurant with only my smartphone ?
Deactivating the flash on your smartphone is essential. Find the right angle by inclining your smartphone in order to find the maximum amount of light, while constantly checking what’s happening on the screen.
Sometimes your neighbor’s dish is prettier than yours, so consider this option too. If your photos still aren’t up to snap, then stand up and take your photo from high up. Try to do this as discreetly and as quickly as possible. After all, we’re there to eat too!
What are your top tips for taking food photos?
Comment on this article