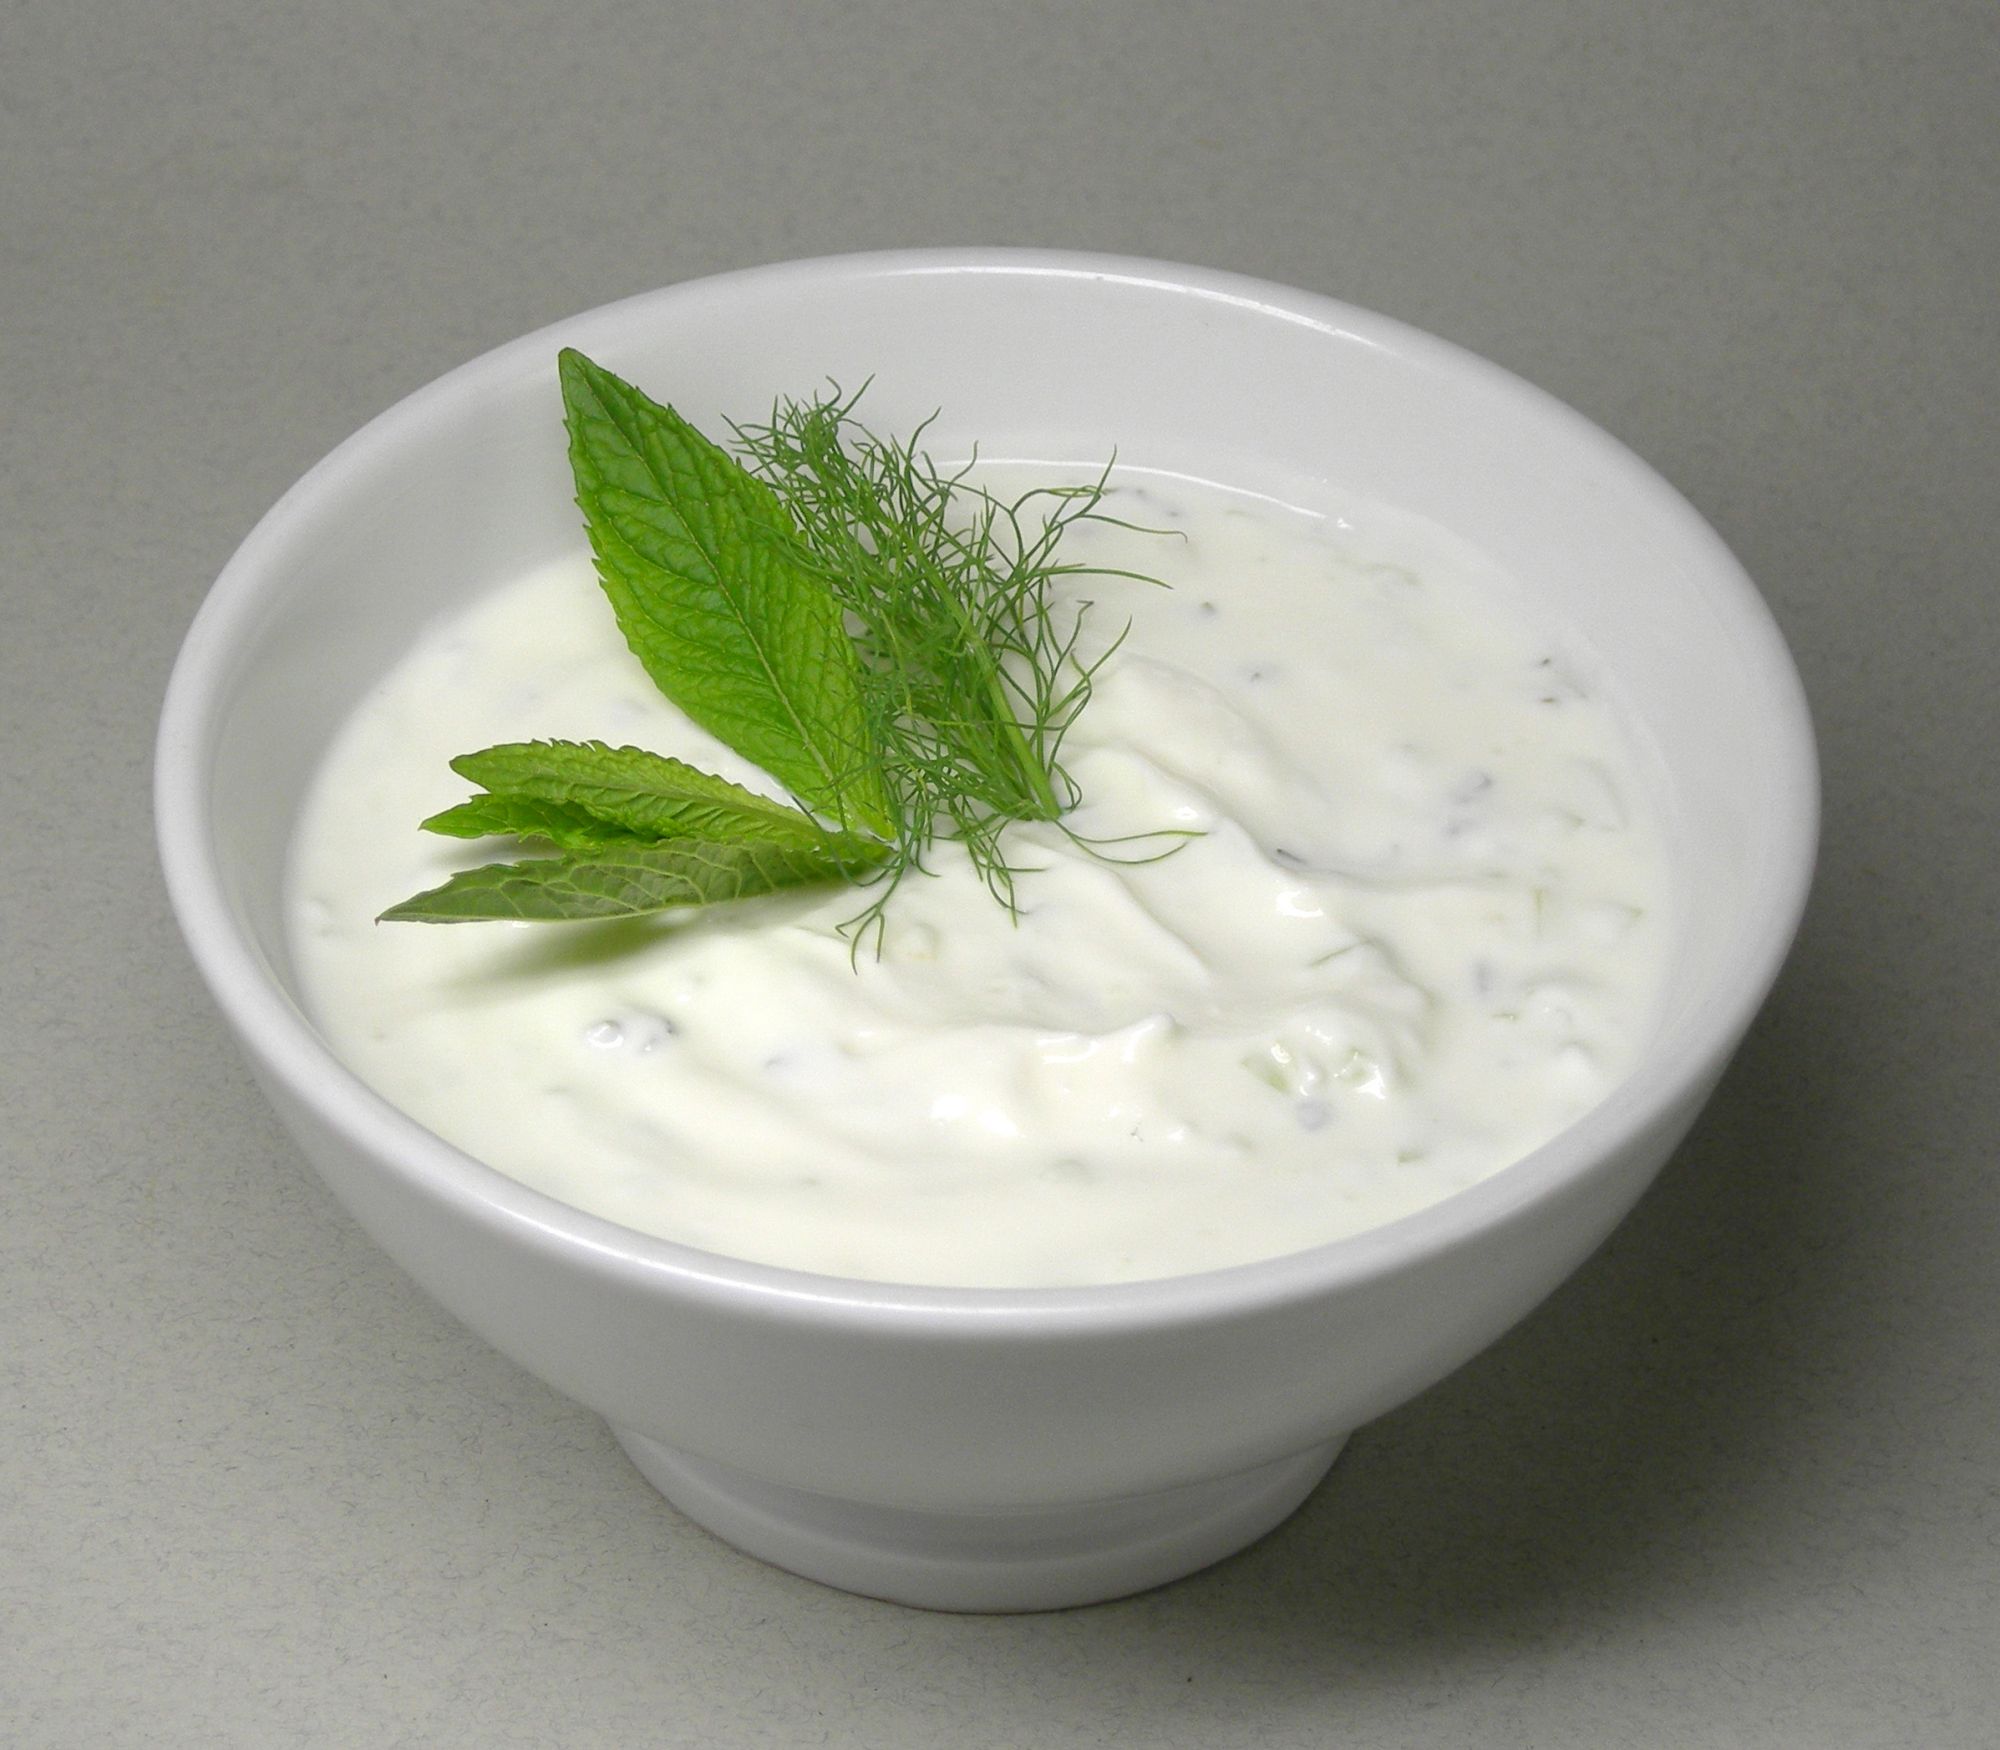
Homemade Yogurt
By arwarren
Adapted from: http://www.good.is/posts/better-living-through-homemade-yogurt
 1 Picture
Ingredients
- 4 tablespoons unflavoured yogurt
- 4 cups full fat (or 2%) milk
Details
Servings 8
Level of difficulty Average
Preparation time 30mins
Cost Average budget
Preparation
Step 1
1. Half-fill a large, wide metal pot with water, and set a metal bowl filled with milk in the middle of that pot. Boil the water, and stir the milk in the bowl that floats in that water.
2. heat your fresh milk to 180–190 degrees Fahrenheit, which is right about when it starts to steam and form little bubbles. Heating to this point changes the structure of whey proteins within the milk, and helps ensure a nice consistency.If you have a thermometer in your kitchen, use it. If you don't (and I still don't), do the "baby bottle" test: dribble a few drops on the inside of your wrist. If it feels really warm but doesn't burn your skin there, it's just right.
3. When you've cooled the milk to this temperature, whisk in (or stir with a spoon-whatever!) four tablespoons of yogurt. I like to thin it down with a bit of the warm milk before I stir it in, to make sure it's evenly distributed.
4. After you've mixed your "innoculation" yogurt into the warm milk, pour the "innoculated" milk into a sterilized glass jar or other container, cover it, and keep it still and warm for about four to five hours until it sets. I just cover that same metal bowl I used to scald the milk, so I don't have to bother sterilizing another dish to pour it into. Sometimes, I'll instead use a bunch of small ceramic cups, sterilized by running them through my dishwasher. All your equipment should be sterile, because you don't want to introduce any other bacterial contaminants that could prevent the yogurt from setting.
5. To keep it warm during that four to five hour setting period, I wrap my metal bowl in some kitchen towels, and leave the swaddled bowl in the oven with the pilot light on. And really now: leave it alone in there! It's like rising bread dough. If you jiggle it or poke at it, you'll mess up the setting process.
6. As soon as your yogurt sets, stick it in the fridge to allow it to further firm, and halt acid production. If you leave it in "incubation" mode too long, it will become harsh tasting, and eventually, the whey will separate. You don't want this.
7. You may choose to strain it through cheesecloth to make a thicker "Greek style" yogurt.
Any brand with live Lactobacillus bulgaricus and Streptococcus thermophilus cultures will work ($.99 worth of the ubiquitous Dannon does just fine).
All your equipment should be sterile, because you don't want to introduce any other bacterial contaminants that could prevent the yogurt from setting.
Review this recipe