Baking Bread? You Should Keep a Bread Diary
Before you get up to your elbows in dough, we suggest you start a bread diary.
What's a bread diary?
Whether you’re a regular baker or battling pandemic anxieties in the kitchen, investing the time in baking homemade bread is on the rise. You’ve grown your sourdough starter, tracked down some tasty whole grains to spice things up, and lined up a roster of recipes that’ll give the bread aisle a run for its money. Now more than ever, it’s time to get serious about your methods if you’re looking for the perfect loaf, and a bread diary is the answer.
What’s a bread diary, you ask? A comprehensive analysis of the variety of factors that affect your bread—from the brand of flour to that extra splash of water you added. There’s no need to annotate your mood or what apron you’re wearing, but specifying the exact temperature, the recipe used, and time in the oven can clarify any questions when you sit down to break bread. What’s the temperature in the room? Did you adjust the recipe? Take an impromptu photoshoot with your dough for social media? Write it all down!
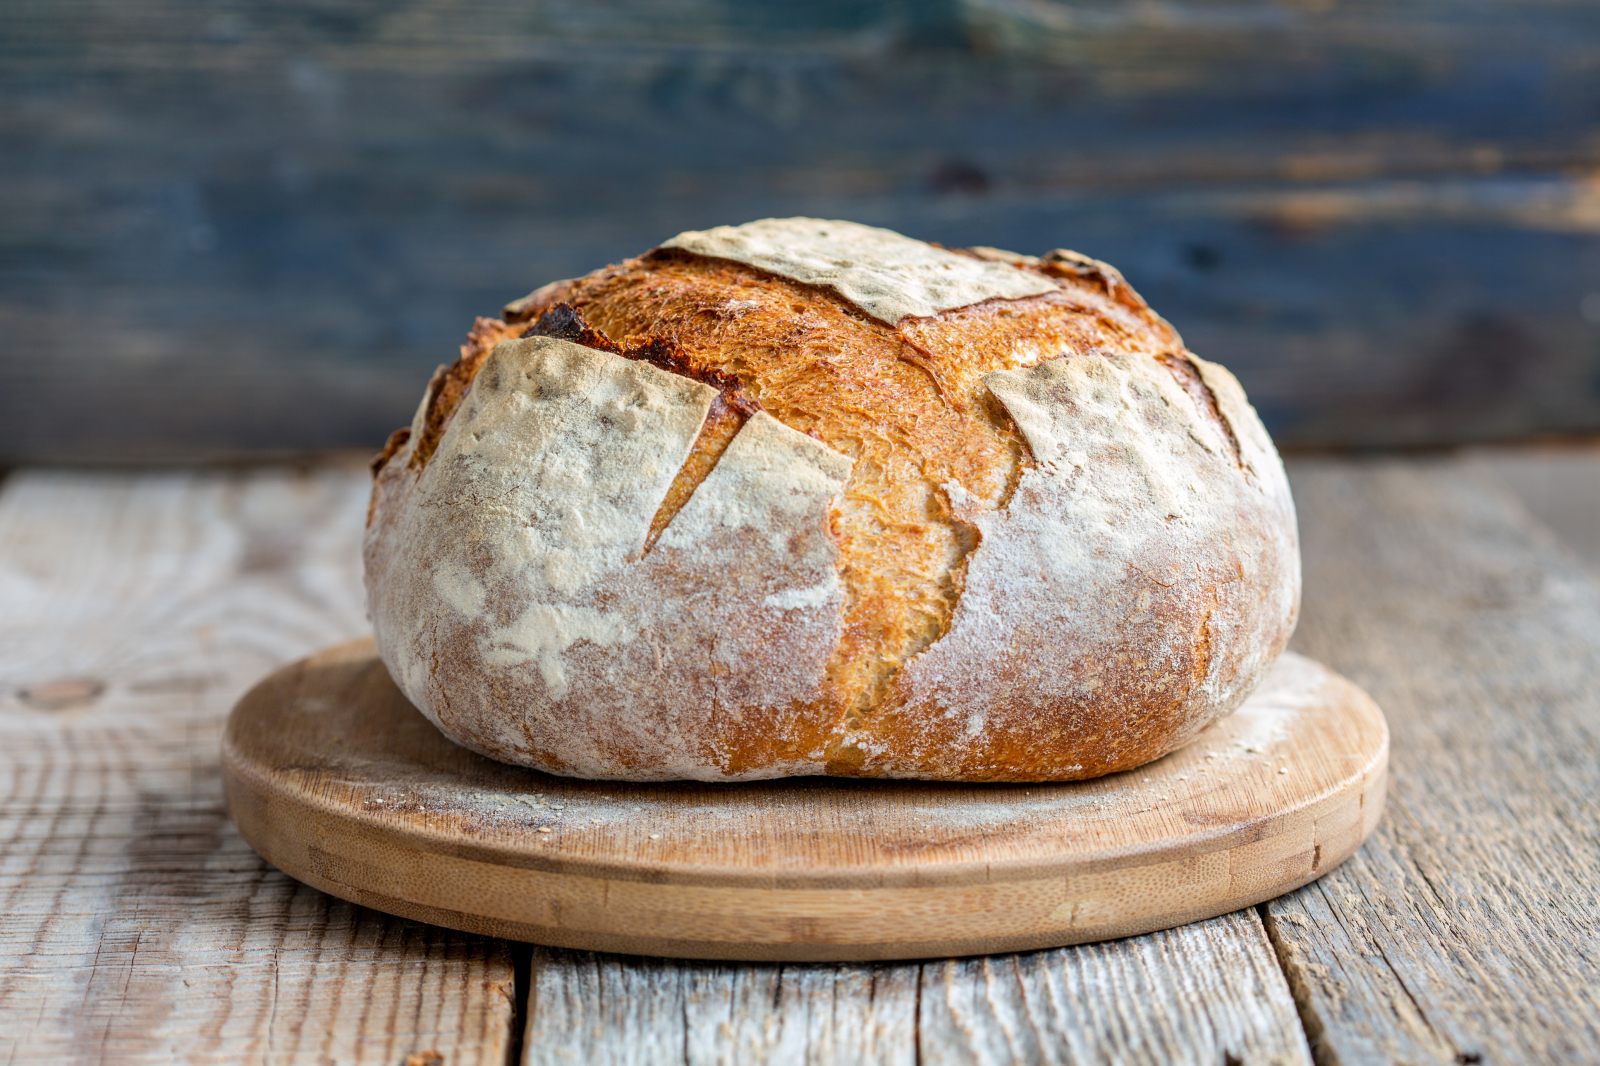
Most importantly, record how your loaf turned out. Is the crust golden and crispy? How about your average slice? Home-baked bread often has an irregular pattern of air pockets ranging in size, which bakers refer to as the crumb. Don’t worry if you haven’t captured the elusive open crumb, but take note if you have a dense, heavy bread on your hands.
Why is it useful?
You don’t have to give yourself a grade, but describing both the vices and virtues from crust to crumb can direct whether you’ll make this recipe part of your regular rotation. Don’t forget that baking is a science. By taking note of the variety of factors that contribute to each loaf, you can eliminate errors and stay on top of your favorite recipes. Reviewing your notes on your previous bakes helps maintain consistency, but you can also track your evolution as a baker.
If you’re just starting out, we recommend sticking to one recipe until you’ve nailed it. It might be tempting to try out fancy shapes and combinations of whole grains, but take the time to get to know one loaf inside and out. Once you’ve mastered your signature recipe, tackle another—ideally building on your skills.
Committing to a daily diary might be hard, but saying yes to making memories and upping our baking game at the same time? Easy.
Hungry for more? Here's the surprising reason you can't eat bread in space.
More steaming articles
 Hop into Flavor: 99 Effortless Easter...
 Easter Sweets Showdown: Ranking the...
 How to Serve Wow-Worthy Holiday...
Chef Tips and Tricks
Try this clever trick to make the perfect zebra cake!
Ingredients
- 2 large water or soda bottles (empty)
- 2 cups flour
- 1 cup sugar
- 2 sticks butter
- 6 eggs
- 1 tbsp baking powder
- 1 cup heavy cream
- 4 tbsp cocoa powder
Method
- Preheat oven to 350°F.
- Ready 2 large plastic bottles, cleaned and dried.
- Add 1 cup of flour to each bottle.
- Add 1/2 cup of sugar to each.
- Melt butter, then add equal halves to each bottle.
- Add 6 eggs, 3 in each.
- Add 1/2 tbsp of baking powder to each.
- Add 1/2 cup of heavy cream to each.
- Shake the bottles thoroughly until the contents are well mixed.
- In one of the bottles only, add the cocoa powder.
- Beginning with the cocoa powder mixture, add a dolop of batter to the center of a circular
- baking tin. Do the same with the other mixture, placing the dolop directly in the center of the previous one.
- Continue with alternating additions of each mixture until all batter is used and the tin is full.
- Place in the oven and bake for 30 minutes.
- Serve and enjoy!
Comment on this article