
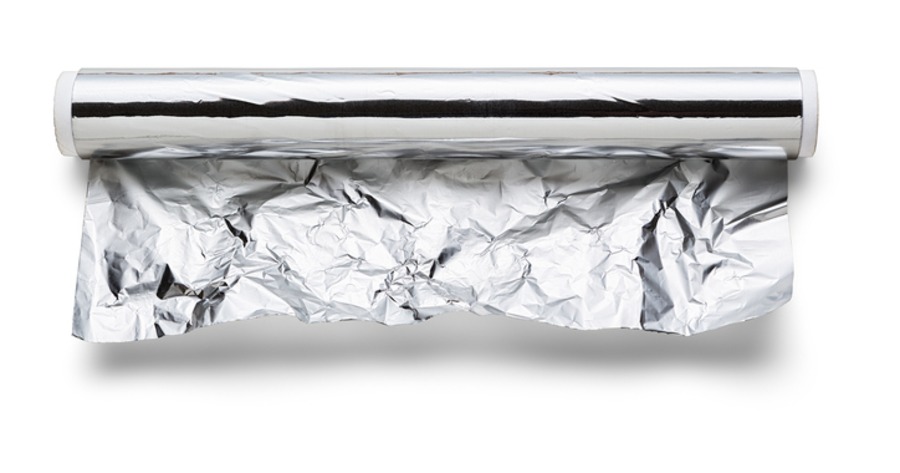
Aluminum Foil: Is There A Right Or Wrong Side?
You've probably noticed there's a dull side and the shiny side... So what's the difference?
Have you ever noticed how aluminum foil has two sides? Take a look: one side is dull, one is shiny! So which side should go up?
The answer is: it doesn't make a difference at all.
According to Reynolds, there is no right or wrong side to aluminum foil. But why are the two sides different? It's all about processing:
"This is a common question and the answer is that the foil is 'milled' in layers during production. Milling is a process whereby heat and tension is applied to stretch the foil to the desired thickness. We mill two layers in contact with each other at the same time, because if we didn’t, the foil would break during the milling process. Where the foil is in contact with another layer, that’s the 'dull' side. The 'shiny' side is the side milled without being in contact with another sheet of metal. The performance of the foil is the same, whichever side you use."
However, if you are using non-stick foil you should use the dull side, as that is the one with the non-stick finish.
So there you have it. Now you can sleep soundly at night!
Like this article? You should definitely check out this great trick for removing sticky glass labels!
More steaming articles
 25 fast beef dinners you can't mess up
 50 ways to make the most of summer...
 10 habits that will make you a better...
Chef Tips and Tricks
Try this clever trick to make the perfect zebra cake!
Ingredients
- 2 large water or soda bottles (empty)
- 2 cups flour
- 1 cup sugar
- 2 sticks butter
- 6 eggs
- 1 tbsp baking powder
- 1 cup heavy cream
- 4 tbsp cocoa powder
Method
- Preheat oven to 350°F.
- Ready 2 large plastic bottles, cleaned and dried.
- Add 1 cup of flour to each bottle.
- Add 1/2 cup of sugar to each.
- Melt butter, then add equal halves to each bottle.
- Add 6 eggs, 3 in each.
- Add 1/2 tbsp of baking powder to each.
- Add 1/2 cup of heavy cream to each.
- Shake the bottles thoroughly until the contents are well mixed.
- In one of the bottles only, add the cocoa powder.
- Beginning with the cocoa powder mixture, add a dolop of batter to the center of a circular
- baking tin. Do the same with the other mixture, placing the dolop directly in the center of the previous one.
- Continue with alternating additions of each mixture until all batter is used and the tin is full.
- Place in the oven and bake for 30 minutes.
- Serve and enjoy!
Comment on this article